The Configuration Report tab on the Options page provides the ability to view and create configuration reports. Configuration reports are a snapshot of the ReadyWorks configuration settings at the time the report was created.
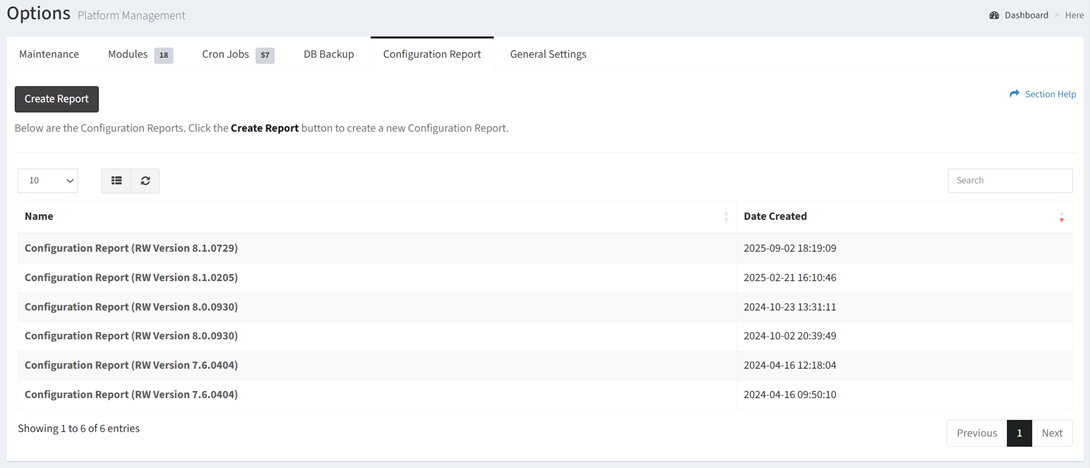
Available operations:
- Create new configuration reports by clicking on the Create Report button
- View a list of configuration reports
- Columns available
- Name – Name of the configuration report
- Date Created – Date the configuration report was created
- View a report by clicking the hyperlink of the Name field
- Delete reports by selecting a report (row) and clicking the Delete Report button on the toolbar
- You can also change the number of visible rows in the table, set column visibility, refresh the table, and search for text
Create Configuration Report
From the Configuration Report tab, you can create configuration reports. To create:
- Click the Create Report button. You will be redirected to the View Configuration Report page.
View Configuration Report
From the Configuration Report tab, you can view a configuration report. To view:
- Click the hyperlink of the Name field to view the configuration report
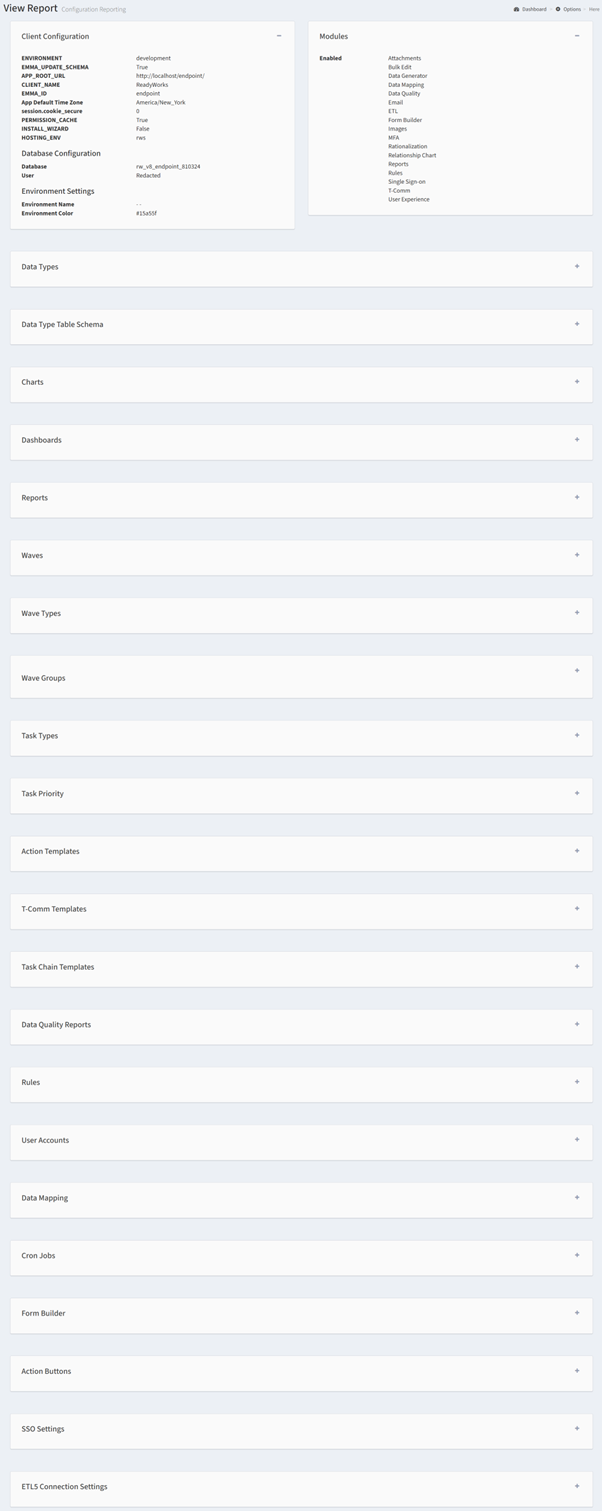
- Sections available:
- Client Configuration
- Modules
- Data Types
- Data Type Table Schema
- Charts
- Dashboards
- Reports
- Waves
- Wave Types
- Wave Groups
- Task Types
- Task Priority
- Action Templates
- T-Comm Templates
- Task Chain Templates
- Data Quality Reports
- Rules
- User Accounts
- Data Mapping
- Cron Jobs
- Form Builder
- Action Buttons
- SSO Settings
- ETL5 Connection Settings
Delete Configuration Report
From the Configuration Report tab, you can delete configuration reports. To delete:
- Select a configuration report (row) to delete
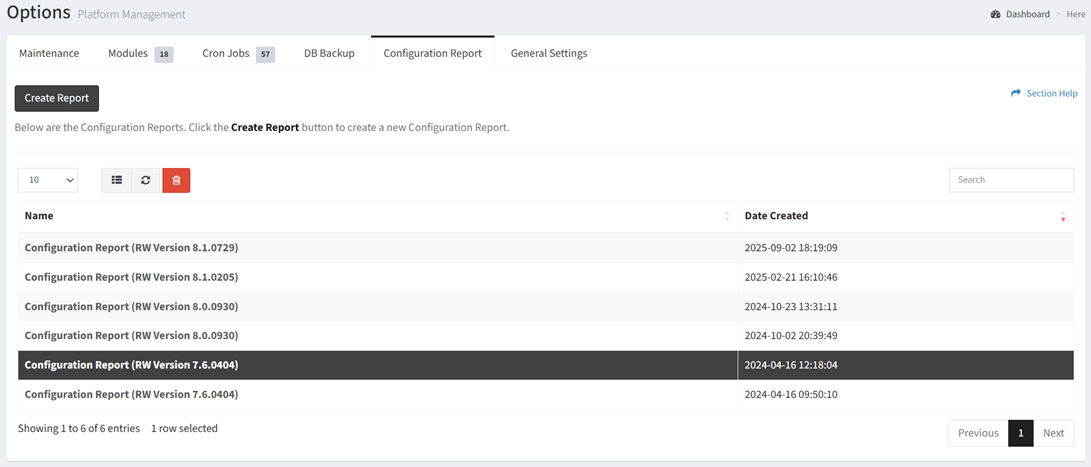
- Click the Delete Report button on the toolbar

- The delete button is only visible when Enable Delete has been checked under Settings – Options (top right corner of the UI)
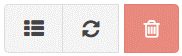
- The delete button is grayed out unless a report (row) is selected
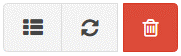
- The delete function is only available to users in the Administrator security group
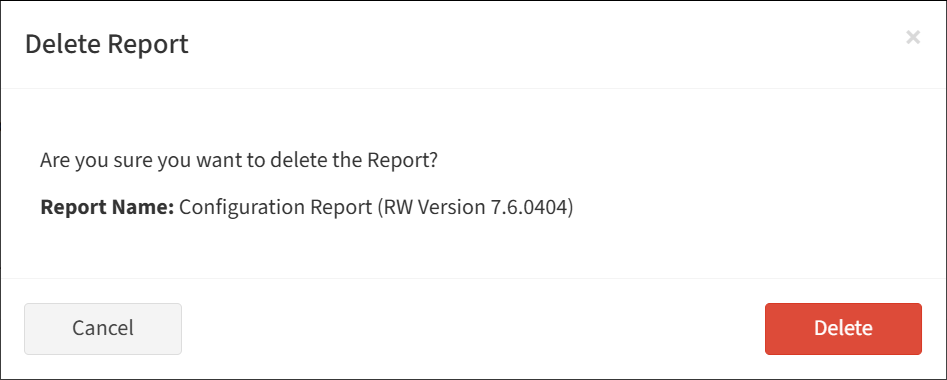
- Click the Delete button to confirm the delete operation. Click the Cancel button to cancel the operation.