From the Form Builder page, you can create new forms. To create:
- Click the New Form button to bring up the New Form wizard
- Enter the properties of the new form on the Form Properties tab
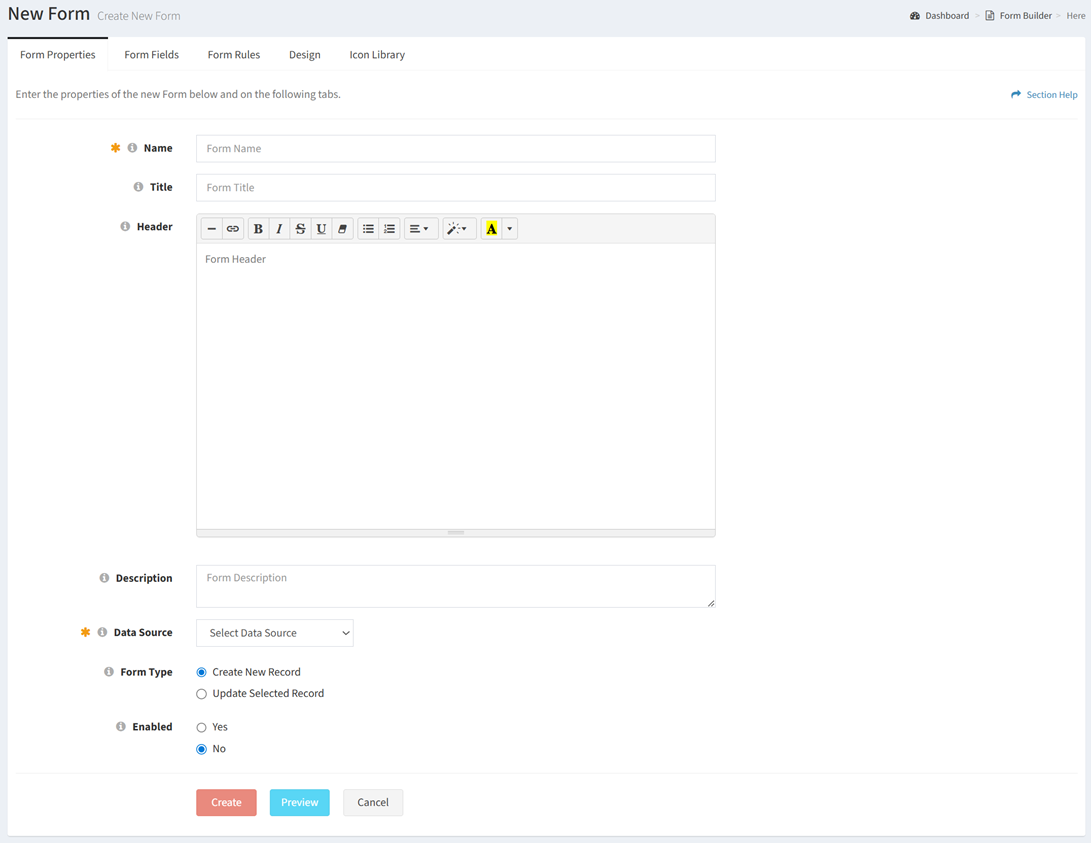
- Name – Enter name of the form (required)
- Title – Enter title of the form (optional)
- Header – Enter header of the form displayed below the title (optional)
- Description – Enter description of the form (optional)
- Data Source – Select the data source of the form (e.g., Computer data type) (required)
- Form Type – Choose the type of the form (Create New Record, Update Selected Record) (required)
- Enabled – Choose if the form is enabled (required)
- Add fields to the new form on the Form Fields tab
- Click the Add Field button to add fields to the form
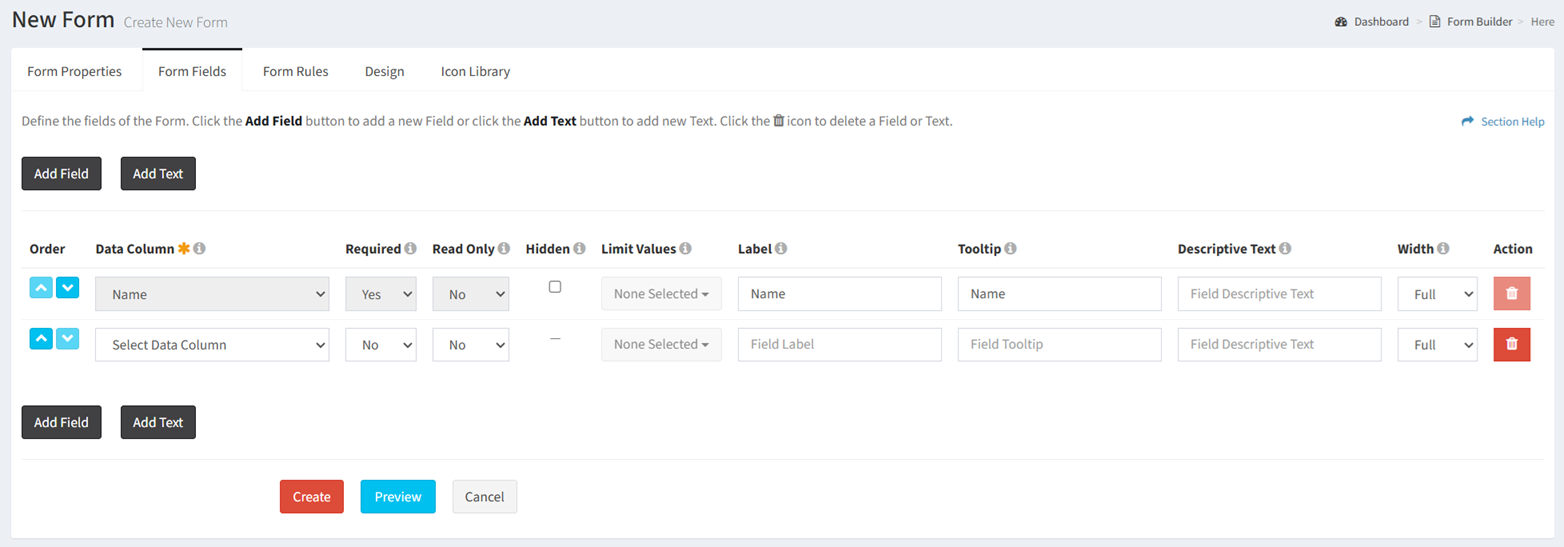
- Order – Change the order of the fields
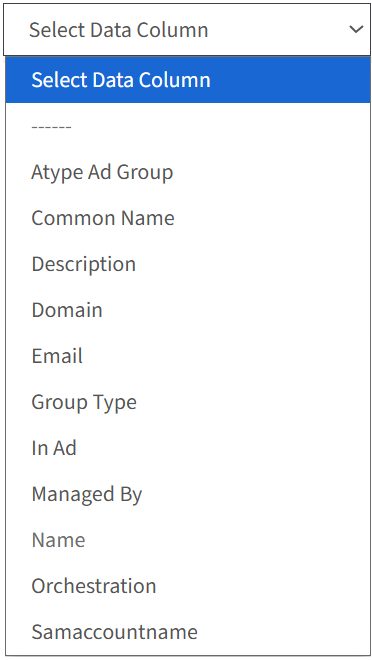
- Data Column – Select the data column of each field. Previously selected data columns are displayed in italics. The data column of the Name field cannot be changed.
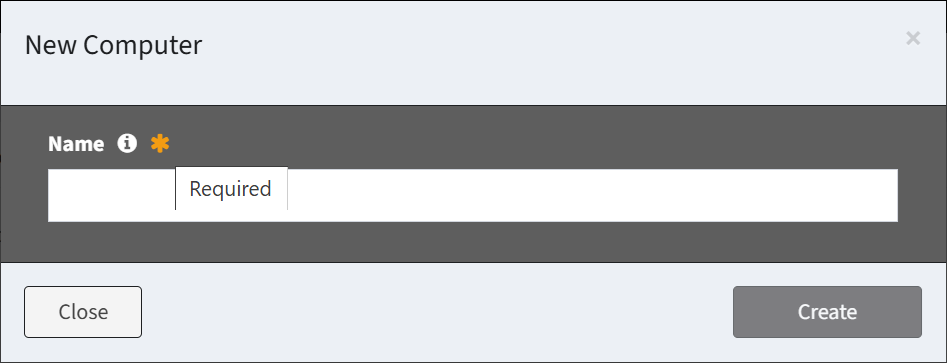
- Required – Select if the field is required when creating or editing. A required field is denoted with an orange asterisk when creating or editing. The Name field is required and cannot be changed. The default setting is No.
- Read Only – Select if the field can be edited. A read only field is denoted with a lock and grayed out when creating or editing. Required fields cannot be read only. The default Setting is No.
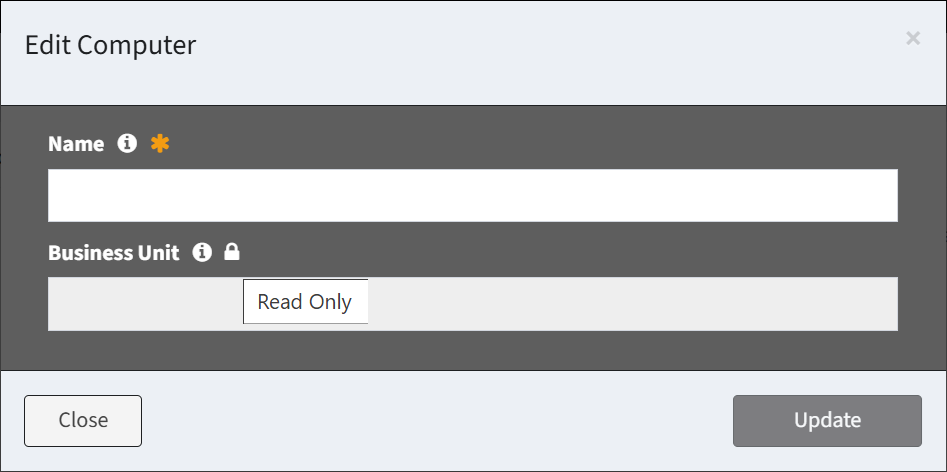
- Hidden – Choose if the Name field is hidden. With a form type of Create New Record this is used to auto-generate the name for new records.
- Choose how the system automatically generates a name for new records and then click the Save button. Click the Cancel button to cancel the operation.
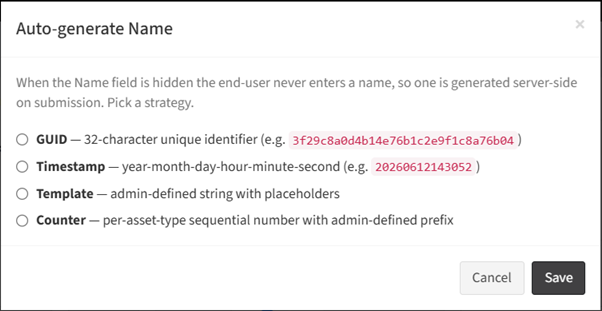
- GUID – Generate a 32-character unique identifier
- Timestamp – Generate a name using the current date and time (YYYYMMDDHHMMSS)
- Template – Generate a name using an administrator-defined format with placeholders ({form_slug}-{date}-{random})
- {form_slug} – Enter a word or string without the curly brackets (e.g., Device)
- {date} – YYYYMMDD
- {datetime} – YYYYMMDDHHMMSS
- {random} – 6 random hex characters
EXAMPLE: A template of Device-{date}-{random} generates a name of Device-20260724-f1ea8b.
- Counter – Generate a name using a sequential number with an administrator-defined prefix. The sequence is shared across all forms for the same data type.
- Prefix – Enter a word or string (e.g., Device)
- Number of Digits – Enter the number of digits in the sequential number
EXAMPLE: A prefix of Device with 5 digits generates a name of Device-00001.
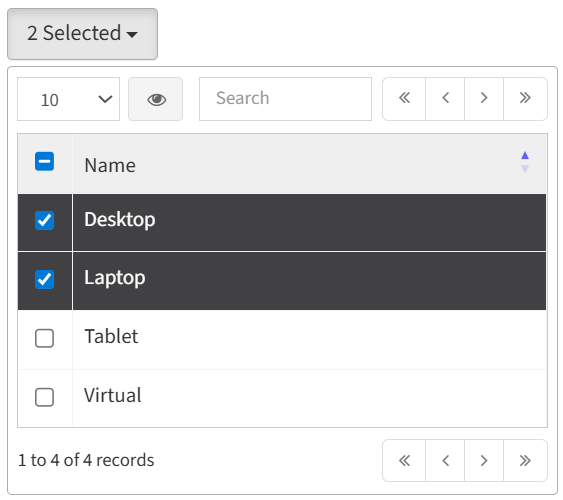
- Limit Values – Select the values (Lookup data columns only) to limit the available selections in the drop down menu (e.g., only display Desktop and Laptop in the Computer Model drop down)
- Label – Enter the label of each field
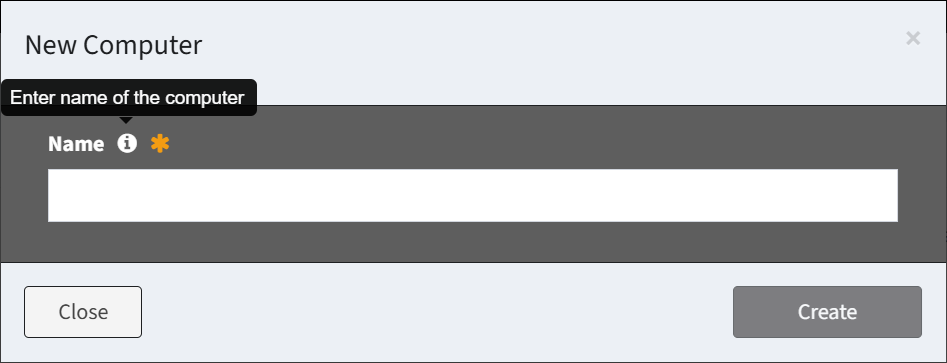
- Tooltip – Enter the tooltip of each field
- Descriptive Text – Enter the descriptive text of each field
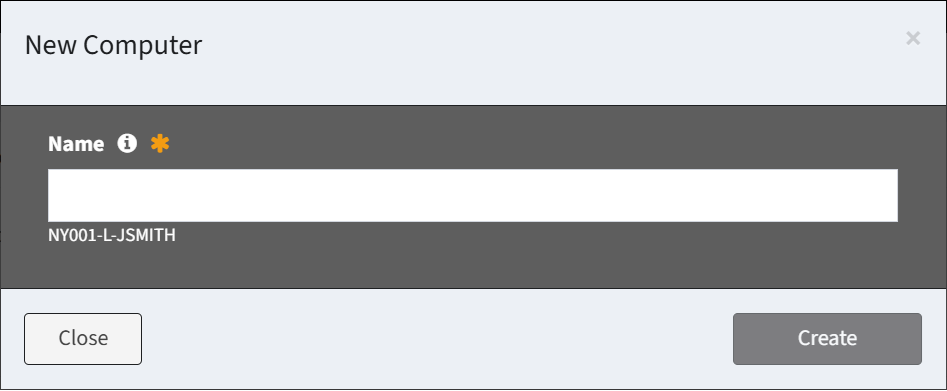
- Width – Select the width of each field (full, half)
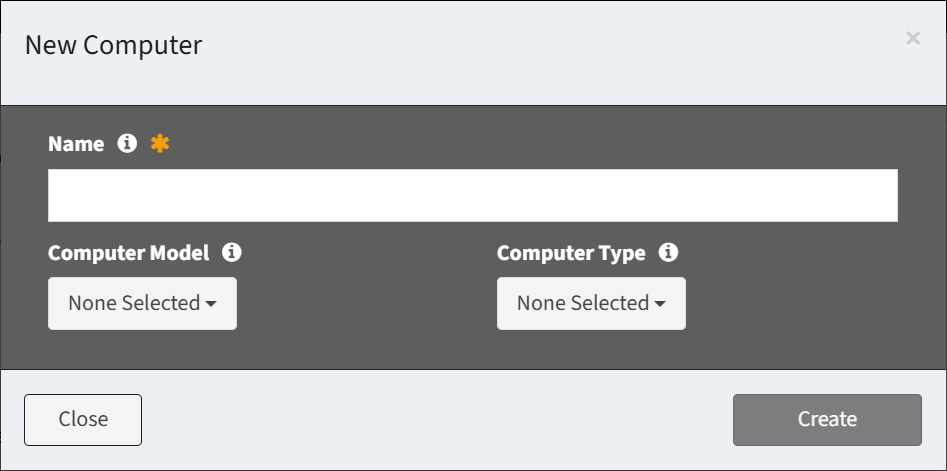
- Action – Delete a row before it is saved to the form
- Add Field – Add new rows for additional fields
- Click the Add Text button to add text fields to the form
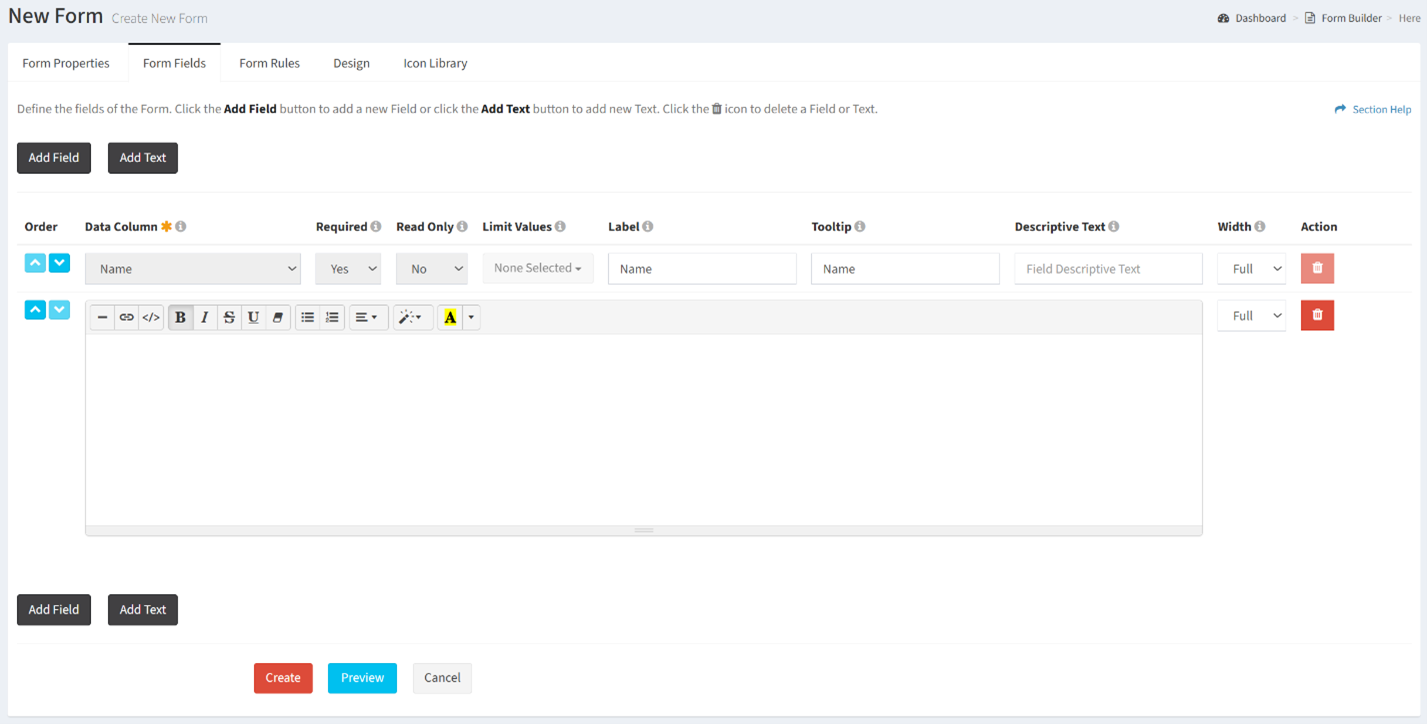
- Text – Enter the text of each text field
- Width – Select the width of the text field (full, half)
- Action – Delete a row before it is saved to the form
- Add Text – Add new rows for additional text
- Define how fields on the form are displayed or hidden on the Form Rules tab
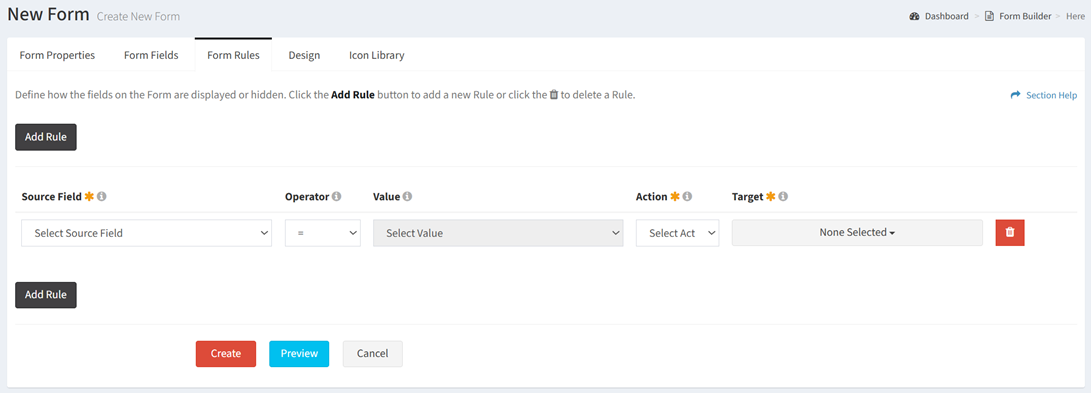
- Source Field – Select the source field (drop downs only) of the rule
- Operator – Select the operator of the rule (equals, not equals)
- Value – Select the source value to match
- Action – Select the action to apply to the target when the source value matches (disable, show)
- Disable – Disable the target on the form (target is enabled when the form opens)
- Show – Display the target on the form (target is hidden when the form is opened)
- Target – Select the targets of the action. Targets include any field (aside from the source field) and the submit button.
- Action – Delete a row before it is saved to the form
- Add Rule – Add new rows for additional rules
- Define the look and feel of the new form on the Design tab
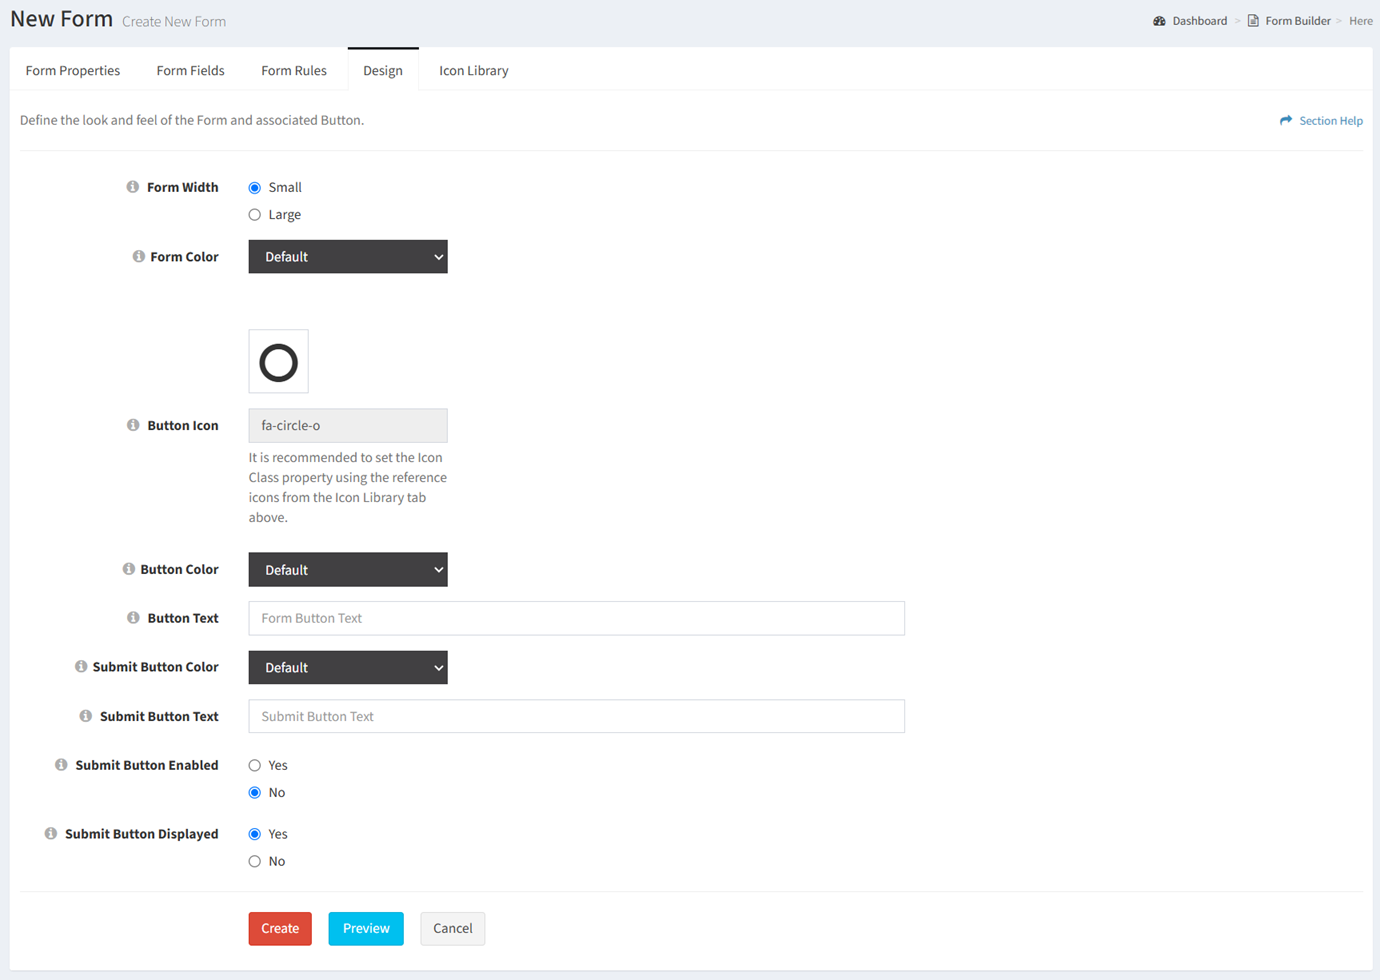
- Form Width – Choose the width of the form (small, large)
- Form Color – Select the color of the form (black, green, light blue, red, yellow)
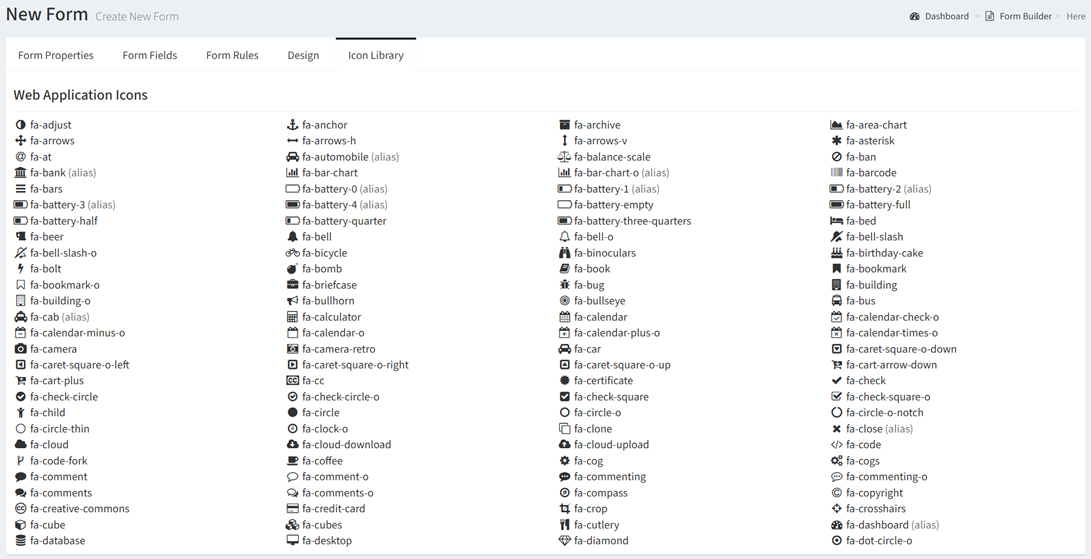
- Button Icon – Select an icon for the form button (displayed on reports) from the icon library. The full list of icons can be found on the Icon Library tab.
- Button Color – Select the color of the form button (blue, green, light blue, red, yellow)
- Button Text – Enter the name of the form button
- Submit Button Color – Select the color of the submit button on the form (black, green, light blue, red, yellow)
- Submit Button Text – Enter the label of the form submit button. Leave blank to use the default label (Create, Update).
- Submit Button Enabled – Choose if the submit button is enabled on the form. When disabled, the form is displayed in a read only mode.
- Submit Button Displayed – Choose if the submit button is displayed on the form
- Click the Preview button to preview the form before saving. Click the Close button to exit the form preview.
- Click the Create button when finished to create the form. You will be redirected back to the Form Builder page. Click the Cancel button to cancel the operation.
Auto-Generate Name
From the Form Fields tab, you can configure how the system automatically generates a name for new records. To configure:
- Check Hidden to bring up the Auto-Generate Name dialog
- Choose how the system automatically generates a name for new records and then click the Save button. Click the Cancel button to cancel the operation.
- GUID – Generate a 32-character unique identifier
- Timestamp – Generate a name using the current date and time (YYYYMMDDHHMMSS)
- Template – Generate a name using an administrator-defined format with placeholders ({form_slug}-{date}-{random})
- {form_slug} – Enter a word or string without the curly brackets (e.g., Device)
- {date} – YYYYMMDD
- {datetime} – YYYYMMDDHHMMSS
- {random} – 6 random hex characters
EXAMPLE: A template of Device-{date}-{random} generates a name of Device-20260724-f1ea8b.
- Counter – Generate a name using a sequential number with an administrator-defined prefix. The sequence is shared across all forms for the same data type.
- Prefix – Enter a word or string (e.g., Device)
- Number of Digits – Enter the number of digits in the sequential number
EXAMPLE: A prefix of Device with 5 digits generates a name of Device-00001.
NOTE: Auto-generating a name is only available with a form type of Create New Record.